Photobucket Photobucket Photobucket Photobucket Photobucket

lunes, 25 de junio de 2012

Muñeca de fieltro


Le hice este broche a mi madre hace un par de semanas, se supone que es ella, pelirroja, el flequillo y con los colores que le encanta vestir, la verdad es que no se parece demasiado pero, no es mona? Ella está encantada y lo lleva puesto casi todos los días!
El cuerpo, la cara y el pelo están hechos con fieltro. La ropa es de tela y los rasgos de la cara están cosidos, Las piernas y los brazos son cadenitas.
Le cosí un broche a la espalda y ya está lista para ver mundo.


A couple of weeks ago I made this brooch for my mom, it's supposed to be her, red hair, bangs, her favorite colors to dress.. the truth is they don't look much alike but, isn't she cute? My mom is delighted with it and wears it almost every day!
The body, face and hair are made of felt. The clothes are fabric and the eyes and mouth are sewed. The legs and arms are chains.
I sewed a brooch on her back and now she's ready to see the world.


Parties:
See sidebar

lunes, 18 de junio de 2012

Transferir con papel de congelar


Encima de una de las puertas de mi casa había este trozo de pared que estaba bastante soso así que decidí añadirle un cartel. Este ha sido mi primer intento de transferir algo con papel de congelar. La primera dificultad que me encontré fue comprar el papel, no es muy común, al final lo encontré en una tienda de productos americanos que se llama Taste of America. Creo que me costó unos 2 euros y pico y el rollo parece bastante largo. Había visto en Internet un montón de proyectos con este papel pero no me había fijado demasiado en el como así que tuve alguna dificultad. Por fin conseguí imprimir el texto en el papel, pero por la parte no encerada (como ya he dicho no había prestado la suficiente atención a los tutoriales). Coloqué el papel encima de la pared y comencé a frotar con una cuchara. Y este es el resultado, no ha quedado mal, verdad? No sé si el acabado como gastado se debe a que la superficie es una pared, o al haber impreso por la parte equivocada del papel pero... a mí me gusta! Aunque creo que le falta algo, a ver si encuentro algún arabesco o algo parecido para completarlo. Os dejo el documento por si os gustan las letras y queréis hacerlo.


There was an empty space above one of the doors of my house that looked kind of dull so I decided to add a sign. This has been my first attempt to use freezer paper to transfer something. I had seen on the Internet many projects using freezer paper but I didn’t pay much attention of the how to so I made some mistakes. I finally got the text printed on the paper but not on the waxy side (as I said before I should have read the tutorials... ) Anyway, I placed the paper on the wall and rubbed with a spoon. And this is how it turned out, not bad, right? I don’t know if the shabby finish it’s because I transferred it on a wall or because I printed it on the wrong side of the paper but … I like it! Although I think there’s something missing, I’ll look for some arabesques or something like that to finish it. Here’s the image in case you like the sign.

Haz clic sobre la imagen  y guárdala en tu ordenador.
Click on it  and save it in your computer.


Parties:
See sidebar

lunes, 11 de junio de 2012

Tarjeta Gorjuss


Esta es una de las últimas tarjetas que he hecho. La hice para acompañar el regalo del día de la madre y le encantó! La ha pegado en la puerta de su dormitorio!

Para hacerla utilicé:
Sitting pretty  de la colección Gorjuss
Memento Tuxedo Black
Papeles de My Mind's Eye de la colección On the bright side-one
Lápices acuarelables
Botones
Hilo de cáñamo
Glossy Accent

Espero que os guste!


This is one of the latest cards I've made. I made it to celebrate Mother's Day. Here in Spain we celebrate it on the first Sunday of May. She loved it and it's hung up on her bedroom door!


These are the supplies I used:
Sitting Pretty by Gorjuss
Memento Tuxedo Black
Papers from 6 x 6 pad On the Bright Side-One by My Mind's Eye
Watercolor pencils
Buttons
Hemp
Glossy Accent


I hope you like it!


Parties:
See sidebar


Challenges:
Bunny Zoe's Crafts Challenge 25 Girls, girls. girls
Paper Crafting Journey Color it up
Jackson's Digital Expressions Anything goes Inks and such
By The Cute And Girly Cute as a button
Simon Says Stamp and Show Anyhting goes

lunes, 4 de junio de 2012

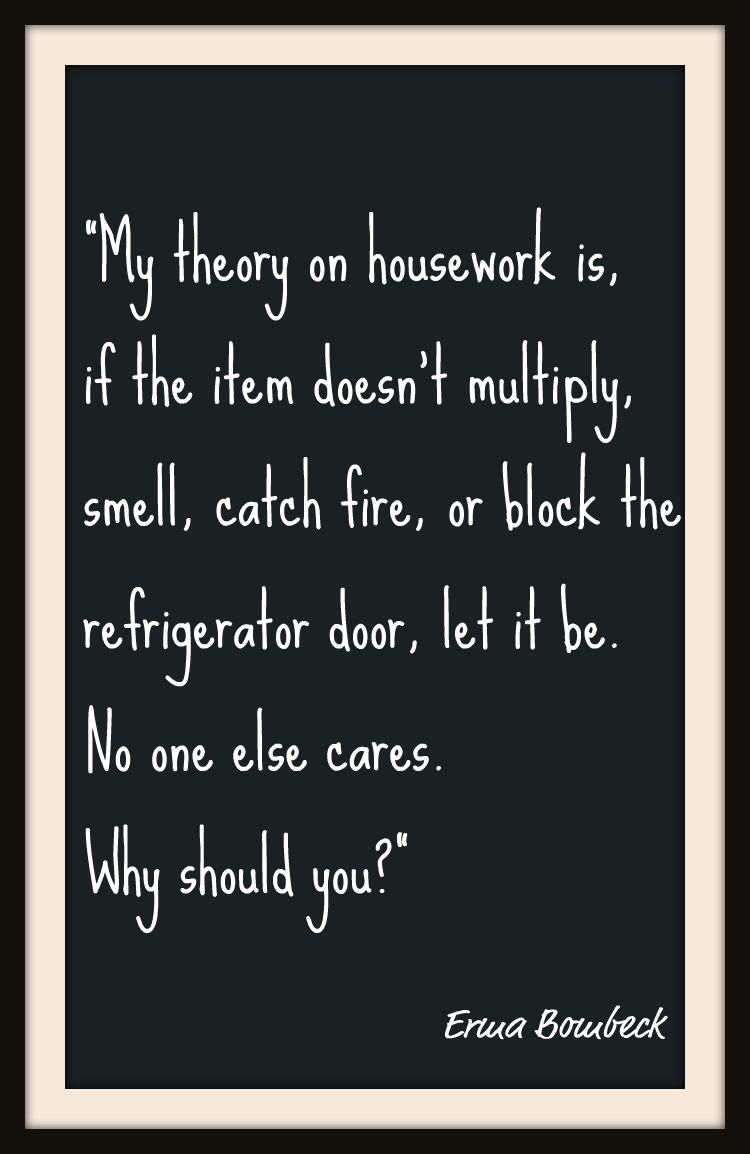
Cita de Erma Bombeck

Es época de exámenes así que hoy un post sencillo y rápido. Vi esta cita en Internet, y me pareció super divertida así que he hecho un cartel para ponerlo en mi casa, todavía tengo que decidir dónde...
Esta es la versión española.

Haz clic con el ratón y guarda la imagen en tu ordenador.

Exam time so a quick and easy post today. I saw this quote on Internet and I found it hilarious so I made a sign to put it in my house, I still have to decide where...
This is the english version.


Click on it and save it in your computer.

Erma Louise Bombeck, (21 febrero 1927-22 abril 1996) fue una humorista estadounidense que alcanzó gran popularidad por su columna del periódico en la que describía la vida casera en los suburbios de mediados de los años 1960 hasta finales de 1990. Bombeck también publicó 15 libros, la mayoría de los cuales se convirtieron en best-sellers. De 1965 a 1996, Erma Bombeck escribió más de 4.000 columnas de periódico describiendo la vida cotidiana de un ama de casa suburbana del medio oeste, con humor basto y a veces elocuente. En la década de 1970, sus columnas fueron leídas, dos veces por semana, por treinta millones de lectores de los 900 periódicos de EE.UU. y Canadá.

Erma Louise Bombeck, (February 21, 1927 – April 22, 1996) was an American humorist who achieved great popularity for her newspaper column that described suburban home life from the mid-1960s until the late 1990s. Bombeck also published 15 books, most of which became best-sellers. From 1965 to 1996, Erma Bombeck wrote over 4,000 newspaper columns chronicling the ordinary life of a midwestern suburban housewife with broad, and sometimes eloquent humor. By the 1970s, her columns were read, twice weekly, by thirty million readers of the 900 newspapers of the U.S. and Canada.


Parties
See sidebar

lunes, 28 de mayo de 2012

Marco para anillos


Y sigo con los marcos... La verdad es que tengo un montón y como me encanta hacer proyectos con cosas que tengo en casa pues eso que me repito un poco... Esta idea la vi en The Crafty Housewife que a su vez la había visto en Peach Fizzz.  Me pareció super chula y fácil de hacer así que aquí os dejo el tutorial por si os animais.

And another frame... The truth is that I have a lot of them and since I love to make projects with things that I've already have, I have lots of frame projects.. oh well... I saw this idea on The Crafty Housewife who had found it on Peach Fizzz. I think it's super cool and easy to make so here's the how to in case you want one.


Y un poco de tela gruesa que se me olvidó fotografiar...
And a piece of thick fabric that I forgot to take a picture of...


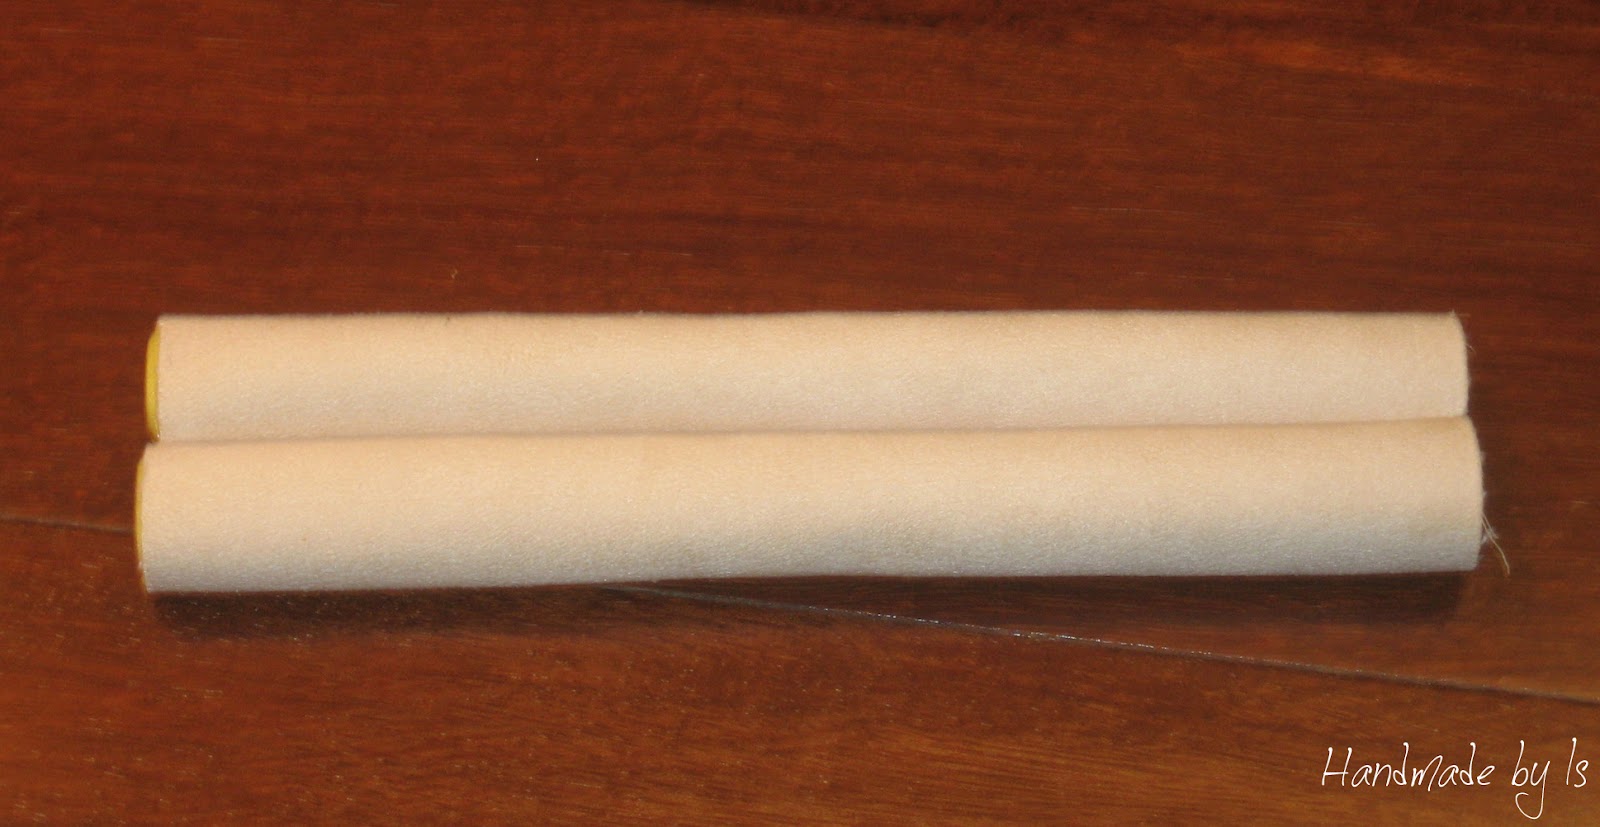
Mide tu marco y corta la bayeta del mismo ancho, a continuación empieza a enrollarla hasta que formes un rulito y aseguralo con un poco de pegamento.
Start off by cutting your cloth to the same width as your frame. Tightly roll them into a sausage making sure to glue the end down so it doesn't unroll.


Haz suficientes rulitos para llenar el marco
Continue to make rolls until they fill your frame


No está muy bonito... vamos a forrarlo con la tela
Not very nice... let's cover it with the cloth


Corta un trozo de tela del mismo ancho que tus rulitos y suficiente para cubrir dos. Pon un poco de pegamento en los bordes y enróllalos hacia el centro hasta que se encuentren en el medio.
Next cut a piece of fabric the same width as your rolls and enough to cover two of them. Put glue on the border and stick a roll at each end of the fabric and roll them inwards towards each other, ensuring the fabric is tightly wrapped around each roll, until they meet in the middle.


Pon pegamento donde se junten los dos rulitos para que se mantenga cerrado.
Put some glue where the two rolls meet (in the middle) to keep it sturdy.


Colócalos en tu marco y asegúralos con un poco de pegamento
Place them in your frame and glue the borders to keep them secure.


Yo coloqué una madera por detrás para que quedara mejor acabado.
I added a piece of wood in the back to finish it.


Coloca tus anillos!
Place your rings!


Parties:
See sidebar


This project was featured:
These Peas Taste Funny
   handmade projects


homemade crafts

lunes, 21 de mayo de 2012

Tarjeta de cumpleaños


Mayo es un mes con muchos cumpleaños así que he tenido que ponerme las pilas y hacer unas cuantas tarjetas, esta es para una amiga. Los papeles y el sello que he utilizado son cortesía de Shelby de Color of Happy ya que son un regalo que me tocó en su blog. Gracias Shelby!
He añadido un poco de Glossy accent en las flores y en las alas, así como unos brillantitos en las flores. El felicidades está impreso con el ordenador y la figura la he coloreado con lápices acuarelables. No es ideal??

May is a month full of birthdays so I have made quite a few cards, this one is for a friend. The papers and the stamp are by courtesy of Shelby of Color of Happy since they are part of the candy I won on her blog. Thanks Shelby!
I've added Glossy Accent on the flowers and wings, and also some teeny tiny embellishments on some flowers. The sentiment is printed and I colored her with watercolor pencils. Isn't she cute??


Parties:
See sidebar


Challenges:
Lily Pad Cards Vera's View Challenge
Mishelflo's Monthly Challenge Celebration
Simon Says Stamps Clear and simple
Sweet Stampin' Faeries and angels
Bunny Zoe' s Crafts Anything goes"My entry into Craftionary sponsored by Appliances Online and their American Fridge Freezers."

lunes, 14 de mayo de 2012

Mi inicial


Hoy un proyecto de cinco minutos. El marco ya lo tenía pero con una foto y ya me había aburrido de verla así que con un poco de cartón, un trozo de arpillera y pintura blanca, voilà! Mi inicial enmarcada, lástima que la I no sea de las letras más bonitas pero que le vamos a hacer... es la mía...
Espero que os guste!


Today a five minutes project. I already had the frame but it had a picture in it and I was kind of bored of seeing it so I took a piece of cardboard, some burlap and white paint and voilà! I have my initial framed, it's a pity that the I isn't nicer but ... it's my initial...
I hope you like it!


Parties
See sidebar